

 English
 中文简体
 Español

Content
- 1 Match the Iron Temperature to Hair Type
- 2 Barrel Diameter Sets the Curl Shape
- 3 Prep: Dry Hair, Light Product, Real Heat Protection
- 4 The Wrap and Hold Method, Step by Step
- 5 Cool Set: The Step Most People Skip
- 6 Fixing the Five Most Common Curling Problems
- 7 Making Curls Last Through a Long Day
- 8 What OEM and Private-Label Buyers Should Verify
Set a curling iron to 400 F on medium-thickness hair and the first curls usually look excellent. Twenty minutes later, half of them are gone. The iron is rarely the cause. The usual reasons are heat that is too high for the hair structure, sections too thick to heat through, or a curl released before it has cooled. Control those three variables and hair curled with a curling iron keeps its shape through a full working day, even when humidity climbs in the afternoon.
The short version: choose the lowest temperature that still sets a curl in about eight seconds, wrap sections no thicker than 1.5 inches, and let every curl cool completely before you touch it. The rest of this guide applies that rule with real numbers, and then covers what to check if you are sourcing curling irons rather than using one.
Match the Iron Temperature to Hair Type
Temperature decides how long a curl survives. Fine and lightened hair loses its internal bonds at lower heat, so a 400 F setting damages the cuticle long before the curl sets. Coarse, resistant hair needs more heat because the cuticle layers are tighter and conduct slowly.
| Hair type | Barrel temperature | Typical hold time per section |
|---|---|---|
| Fine, bleached, or heat-damaged | 120 to 150 C (250 to 300 F) | 6 to 8 seconds |
| Medium, untreated, wavy | 150 to 175 C (300 to 350 F) | 8 to 10 seconds |
| Thick, coarse, or resistant | 175 to 200 C (350 to 400 F) | 10 to 15 seconds |
| Color-treated, relaxed, or permed | 130 to 160 C (265 to 320 F) | 8 to 10 seconds |
| Short or fragile edges | 110 to 140 C (230 to 285 F) | 5 to 7 seconds |
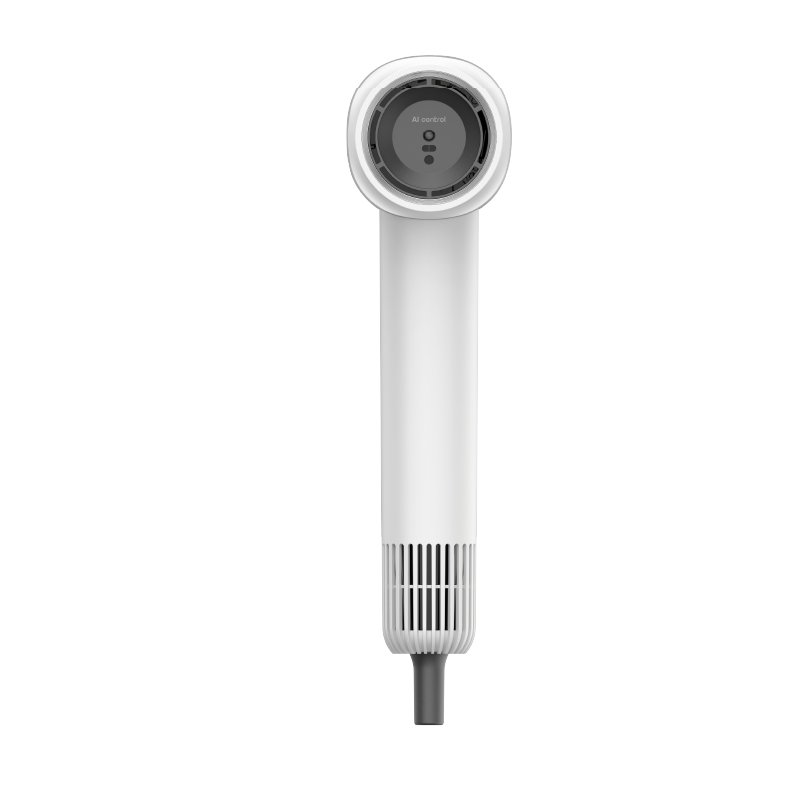
Test on a one-inch section at the nape before styling the front, and drop the setting by 10 to 15 C if the barrel feels uncomfortable against a fingertip after ten seconds of contact. Calibration matters more than the maximum number printed on the dial, because many consumer irons peak 15 to 25 degrees above the setting shown, which pushes medium hair into the coarse-hair range. The same principle drives the temperature control engineering on intelligent styling tools such as the KH803C smart temperature control platform, where sensors read the actual condition instead of trusting the heating element.
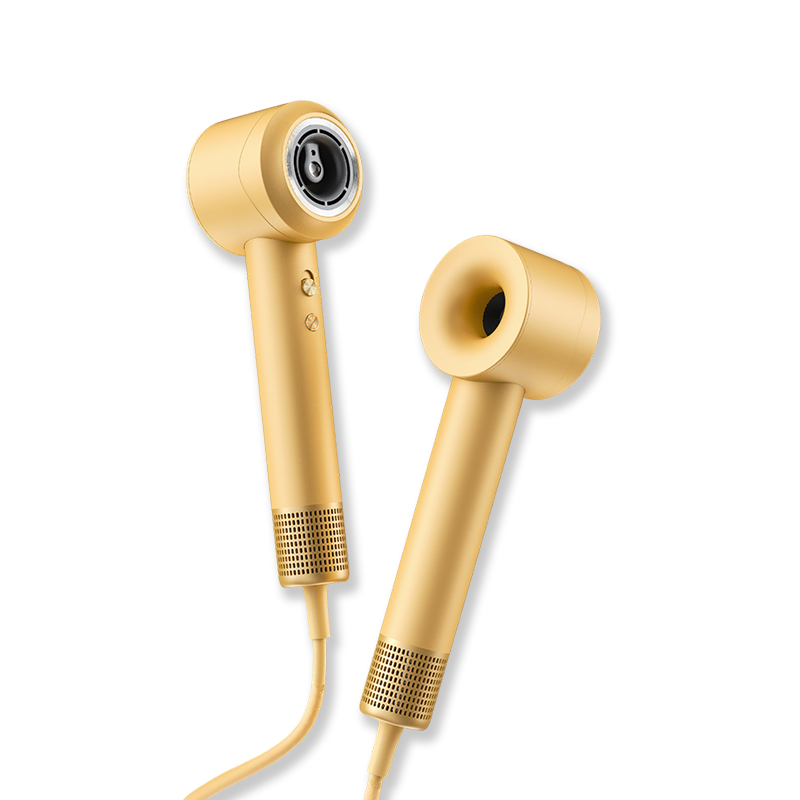 KH-803C Smart Temperature Control Hair DryerIntelligent closed-loop temperature control and a high-speed brushless motor help dry hair quickly while managing heat, supporting careful temperature calibration during styling.View Product →
Barrel Diameter Sets the Curl Shape
Diameter, not hand technique, decides how large the finished curl will be. Wrap the same section around two different barrels and you get two different hairstyles.
- 9 to 13 mm (3/8 to 1/2 inch): tight ringlets on short hair, plus edges and nape sections.
- 19 mm (3/4 inch): firm spirals and defined curls on medium-length hair.
- 25 mm (1 inch): the standard curl, predictable on bobs and shoulder-length hair.
- 32 mm (1.25 inch): loose curls and movement, the most common request for long hair.
- 38 mm (1.5 inch) and above: soft bends and beach waves rather than true curls.
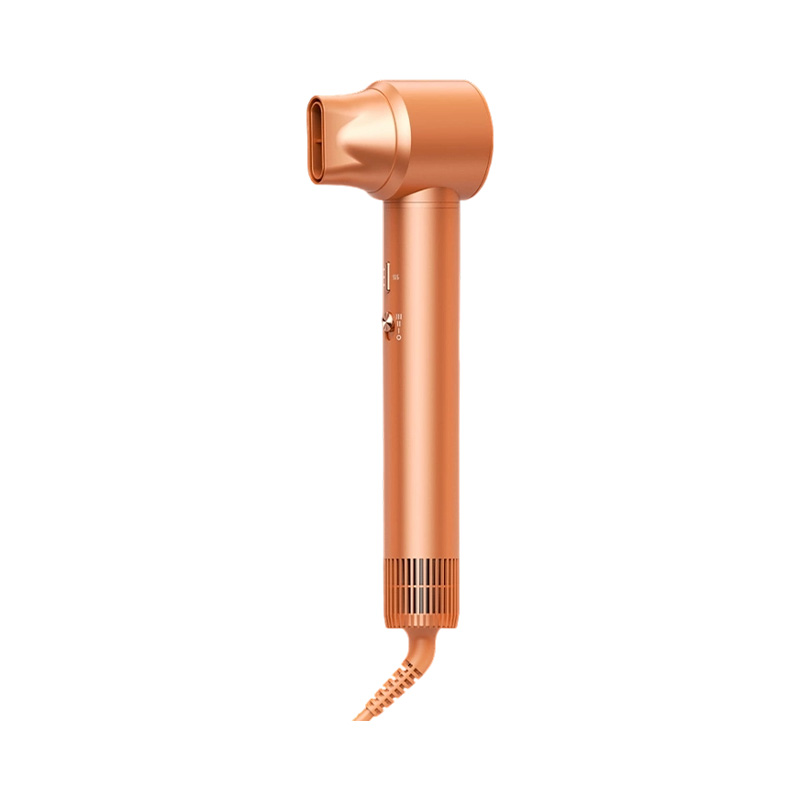
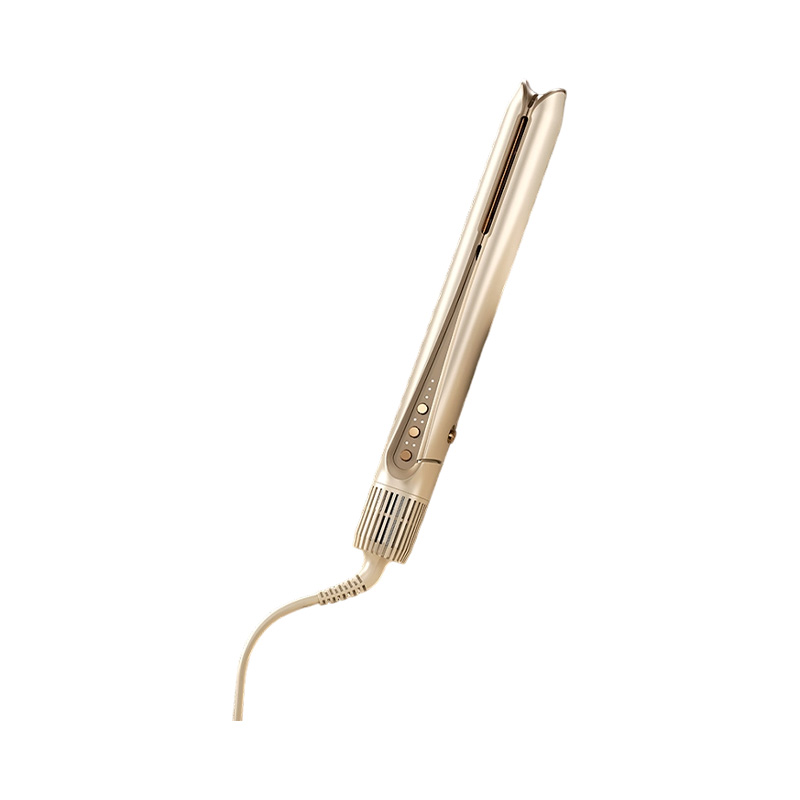
A 25 mm barrel covers most everyday requests, but one barrel with one heat setting runs out of range quickly. The KH810 intelligent temperature control straightener and curling iron combines an adjustable barrel with a digital temperature setting, so straight, loose, and defined styles come from the same tool instead of three devices on the counter.
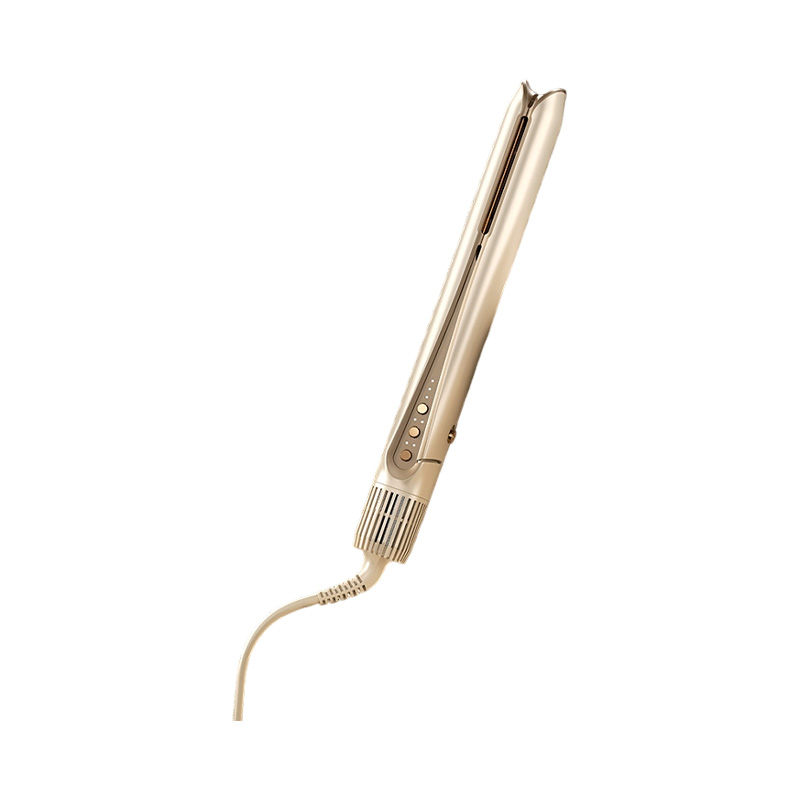 KH-810 Intelligent Temperature Control Straightener and Curling IronDual-function styling with precise temperature levels replaces multiple tools, offering adjustable heat for straight, loose, and defined styles.View Product →
Prep: Dry Hair, Light Product, Real Heat Protection
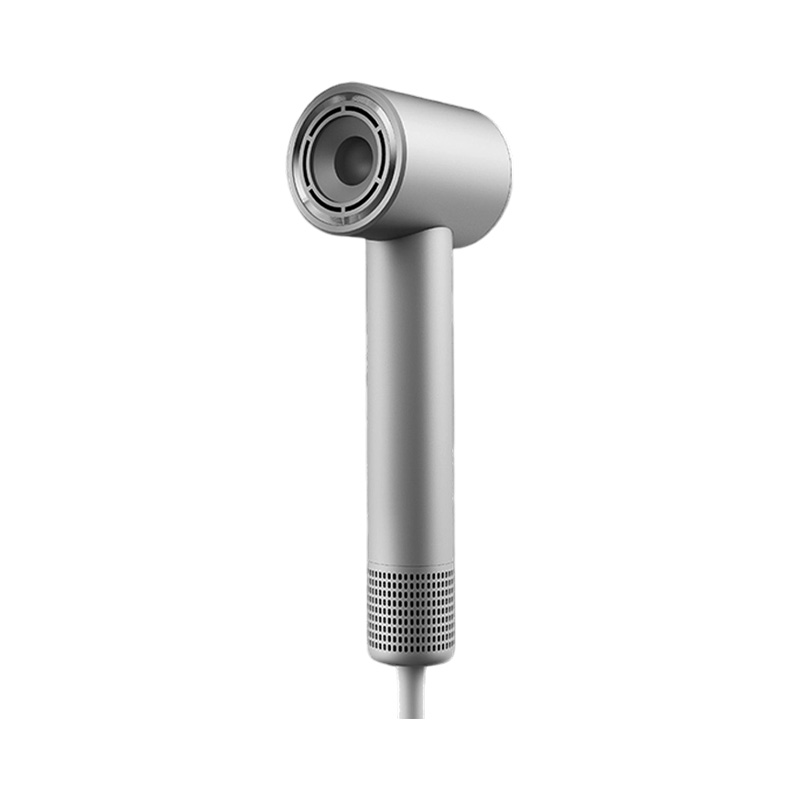
Hair has to be completely dry before the barrel touches it. Water inside the strand turns to steam under a 180 C barrel, and steam lifts the cuticle, which is where frizz and the cooked smell come from. Dry to the roots first. A high-speed dryer with a concentrator reaches that state faster than a towel and a low-air dryer, and the comparison between high-speed and regular hair dryers comes down to airflow and heat control rather than wattage numbers.
Apply a heat protectant rated for the temperature you plan to use, then wait about ten seconds before the first section so the carrier solvents evaporate. Heavy oils and leave-in creams belong before drying, not after, because they hold heat against the cuticle and lengthen the set time while adding nothing to hold.
Styler or classic iron?
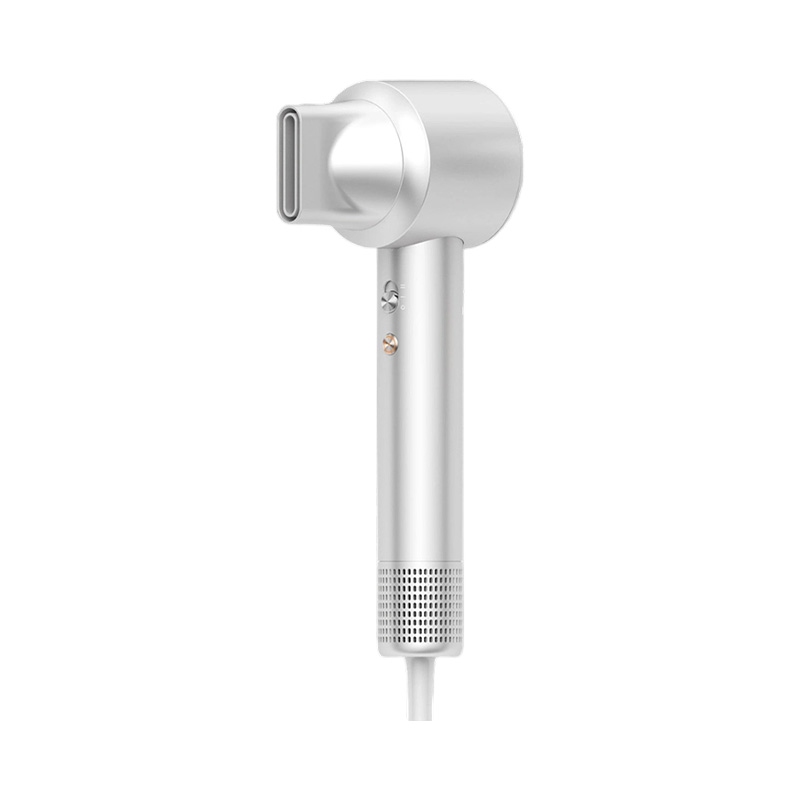
A clamp iron with a smooth barrel gives the most definition and the longest hold. A multi-head styling tool suits volume, root lift, and loose movement, and it travels better. Tools such as the KH802K 5-in-1 hair styling dryer shape hair with airflow and rotating heads rather than direct barrel contact, which helps when the hair is fine or already stressed.
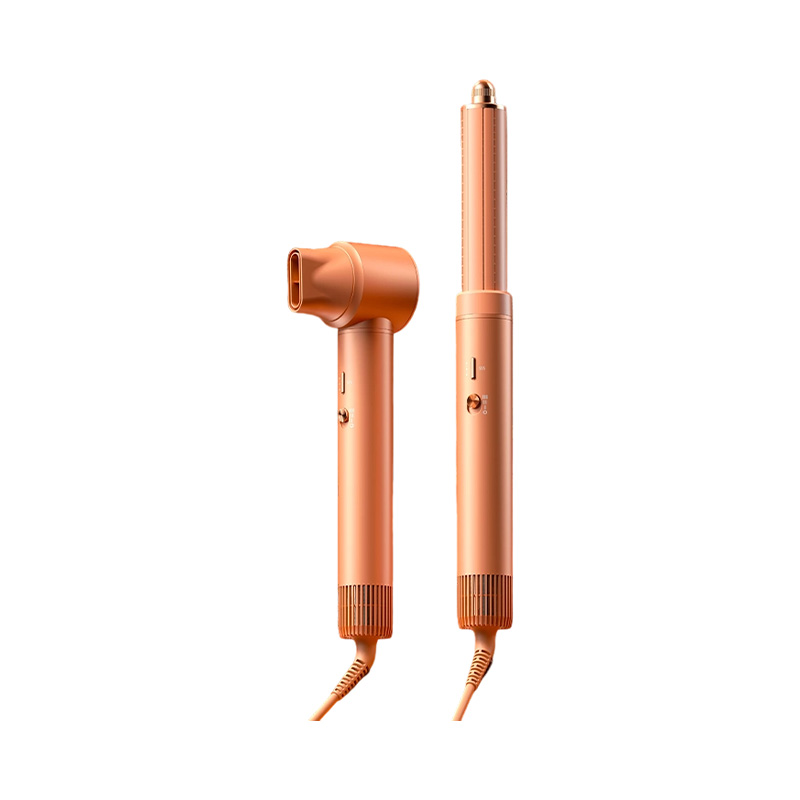 KH-802K 5-in-1 High-Speed Styling Hair DryerWith airflow-based rotating heads, high-speed drying, negative ions, and rapid NTC monitoring, it suits volume, root lift, and loose movement for fine hair.View Product →
The Wrap and Hold Method, Step by Step
- Section the hair from the bottom up. Keep each section 2.5 to 4 cm (1 to 1.5 inches) wide and clip the rest out of the way.
- Comb the section smooth. A rough section produces a rough curl, no matter the temperature.
- Clamp the iron at mid-length, not at the ends, leaving the last 1 to 2 cm of hair outside the clamp.
- Wrap the section around the barrel so the ends spiral around the outside of the iron instead of being pinched. This is what prevents hard crease marks at the tip.
- Hold for the time listed for your hair type, then check one curl before you commit to the rest.
- Release the curl into a cupped palm and hold it there for 10 to 15 seconds. Do not comb, pull, or spray it while it is still hot.
- Alternate the wrap direction between sections. Uniform wrapping gives a formal look, while alternating direction gives the natural fall most people actually want.
Cool Set: The Step Most People Skip
A curl is not finished when the iron opens. It is finished when the strand cools back to room temperature, because the hydrogen bonds have to re-form in the new shape. Pulling on a hot curl, brushing it, or hitting it with hairspray immediately breaks those bonds before they set, which is why a style that looked perfect in the mirror can flatten on the walk to the car.
Give each curl ten to fifteen seconds of undisturbed cooling. On long hair, that is the same time the next section needs to heat, so it costs nothing in total styling time.
Fixing the Five Most Common Curling Problems
| Problem | Usual cause | Fix |
|---|---|---|
| Curl drops within 30 minutes | Curl released while still hot | Hold in a cupped hand for 10 to 15 seconds |
| Sharp crease marks at the ends | Ends pinched between the plates | Keep tips outside the clamp and wrap them around the barrel |
| Frizz and a burning smell | Hair not fully dry or protectant not set | Dry to 100 percent, then wait 10 seconds after spraying |
| Uneven curl sizes | Sections of different thickness | Measure sections at 1 to 1.5 inches and keep them consistent |
| Flat crown, tight ends | Wrapping started at the ends only | Start at mid-length and wrap toward the scalp, or use a larger barrel on top |
Making Curls Last Through a Long Day
- Use a light hold hairspray from 25 to 30 cm away after the curls have cooled, never before.
- Skip brushing. Finger-comb or lift sections with a wide-tooth comb, otherwise the curl pattern breaks apart.
- Plan for humidity: fine hair holds shape longer when the finishing spray contains a humidity blocker.
- Sleep with hair loose in a high ponytail or a soft braid on a smooth pillowcase to protect the pattern overnight.
- To refresh on day two, re-wrap only the front sections on the lowest setting for five seconds and cool set again.
What OEM and Private-Label Buyers Should Verify
If you are sourcing curling irons rather than using them, the specification sheet matters as much as the styling guide above. A buyer who asks only for a 25 mm curling iron with adjustable heat leaves the variables that drive returns undefined: real barrel temperature, recovery time, coating durability, cord life, and shutdown behavior.
Ask for numbers rather than categories:
- Temperature accuracy at the working set point, for example within plus or minus 5 C at 180 C, with the test method named.
- Recovery time, meaning how many seconds the barrel needs to return to set point after a cold section is wrapped. Under 30 seconds keeps a stylist on pace.
- Heat-up time to maximum, typically 60 to 90 seconds, plus steady-state stability over 20 minutes of continuous use.
- Barrel diameter and straightness tolerance, commonly plus or minus 0.25 to 0.5 mm, with coating adhesion checked after abrasion cycling.
- Safety features: 30 to 60 minute auto shut-off, a 360 degree swivel cord, and a tip that stays below 60 C.
- Market compliance: UL or ETL for North America, CE, GS, RoHS, and REACH for Europe, with dual voltage 100 to 240 V and the plug type matched to the destination.
Production capability belongs in the same conversation. Our facility in Cixi, Zhejiang covers more than 70,000 square meters, has developed over 100 appliance models since 2010, and runs an ISO9001 quality system with in-house molding, stamping, and SMT lines. Products ship to North America, South America, Europe, and Asia under OEM and ODM programs. Buyers evaluating the current straightener and curler range can request samples together with IQC and OQC documentation before committing to tooling and packaging.
Hair curled with a curling iron behaves predictably once temperature, section size, and cooling time are treated as one system. Start one setting lower than you think you need, measure your sections, and wait for each curl to cool before you judge the result. If you are building or buying tools for that routine, define temperature tolerance and recovery time in writing before the first sample is made.


 +86-574-63982198
 +86-574-63982197

 No. 933, Lingxu 2nd Road, Binhai Economic Development Zone, Cixi, Zhejiang, China.
