

 English
 中文简体
 Español

Content
- 1 Prep the Hair So the Curl Holds
- 2 Match Heat and Barrel to Your Hair
- 3 Section the Hair With a Clear Pattern
- 4 Clamp, Wrap, and Hold
- 5 Let the Curl Cool Before You Touch It
- 6 Control Curl Direction for a Natural Finish
- 7 Common Problems and Practical Fixes
- 8 A Simple 10-Minute Practice Routine
- 9 Tool Details That Make Self-Curling Easier
You can curl your own hair with a curling iron in about 10 to 15 minutes once the hair is dry and sectioned. The method is simple: use a clamped barrel, keep each section small, hold for 8 to 12 seconds, and let the curl cool before touching it. Three issues cause most failures: too much hair in the clamp, heat that is too high for the hair type, and releasing the curl while it is still warm. A 1 inch barrel is the safest starting point for medium-length hair. Use 1.25 inches for loose waves and 0.75 inches for tighter curls.
Prep the Hair So the Curl Holds
Start with completely dry hair. Damp hair traps steam inside the clamp, which weakens the curl and makes the ends feel rough. Wash, condition, and dry the hair first. Apply a heat protectant from mid-lengths to ends, then comb it through so the product is even. If you dry and style in one session, use medium heat and medium airflow until the roots and mid-lengths are dry, then finish with cool air to close the cuticle. A high-speed dryer with controlled heat is helpful because it reduces the time the hair spends under hot air. For a closer look at airflow and drying, see this comparison of high-speed and regular hair dryers.
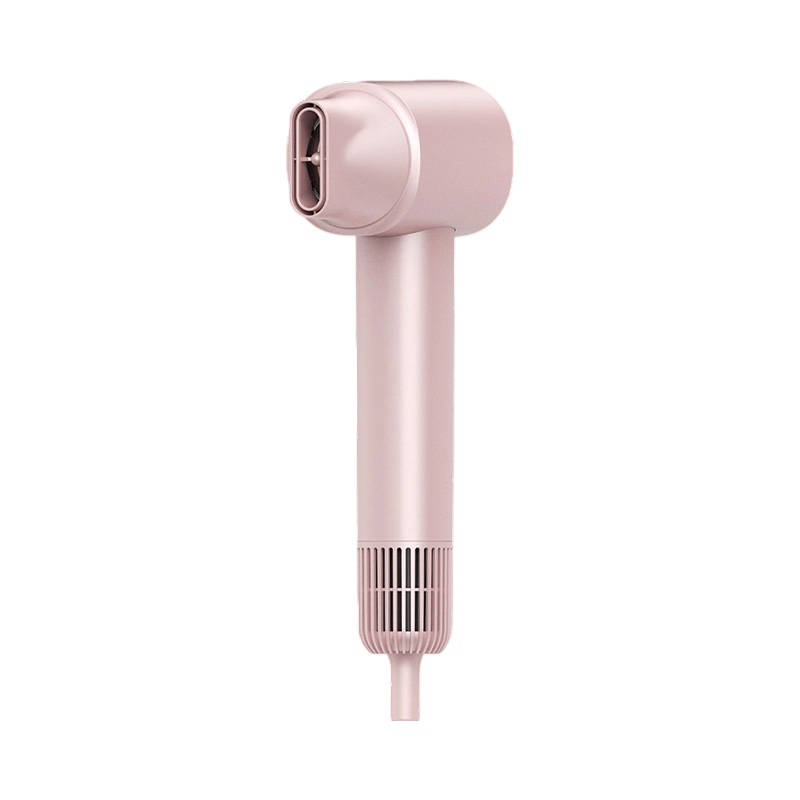
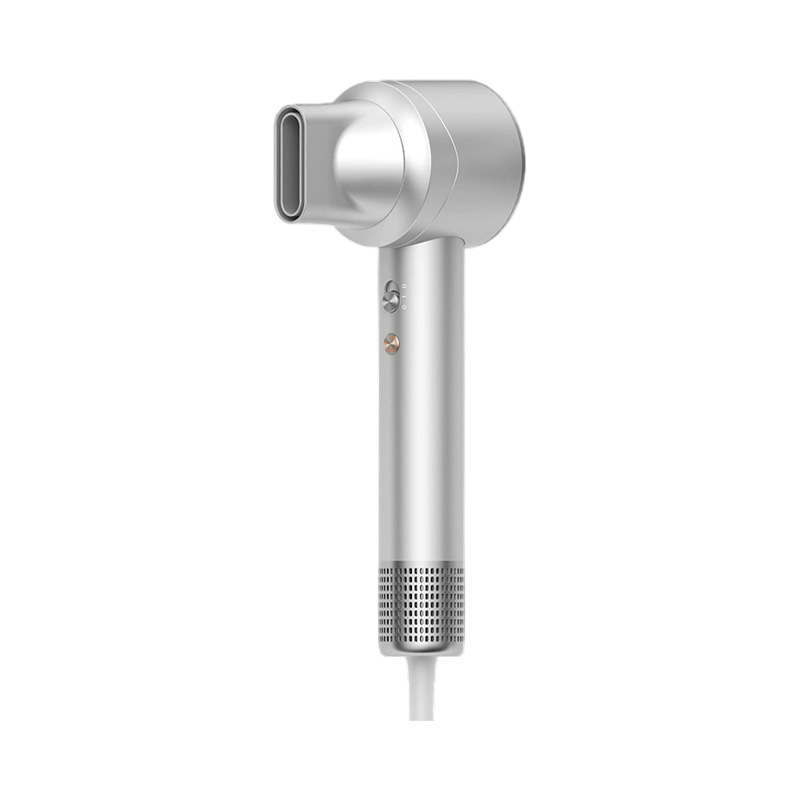
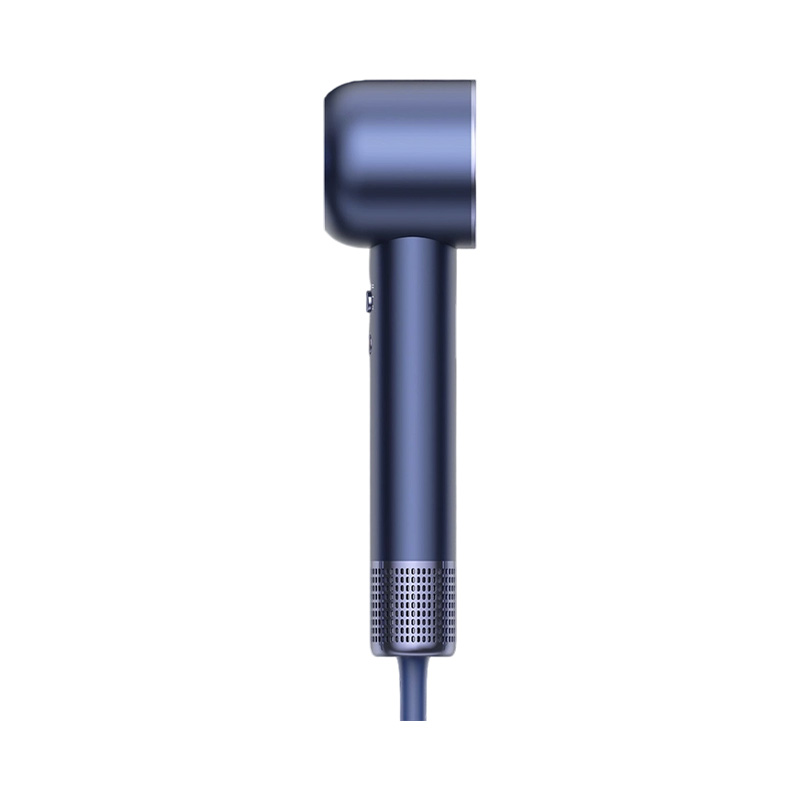
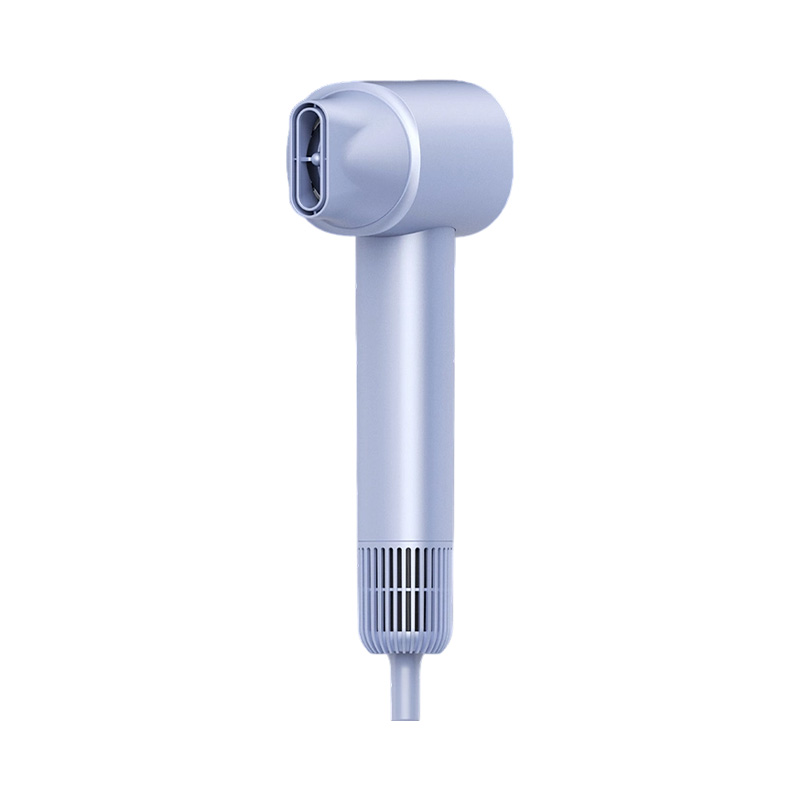
The KH808 mini high-speed intelligent temperature control hair dryer is a compact option for this drying step.
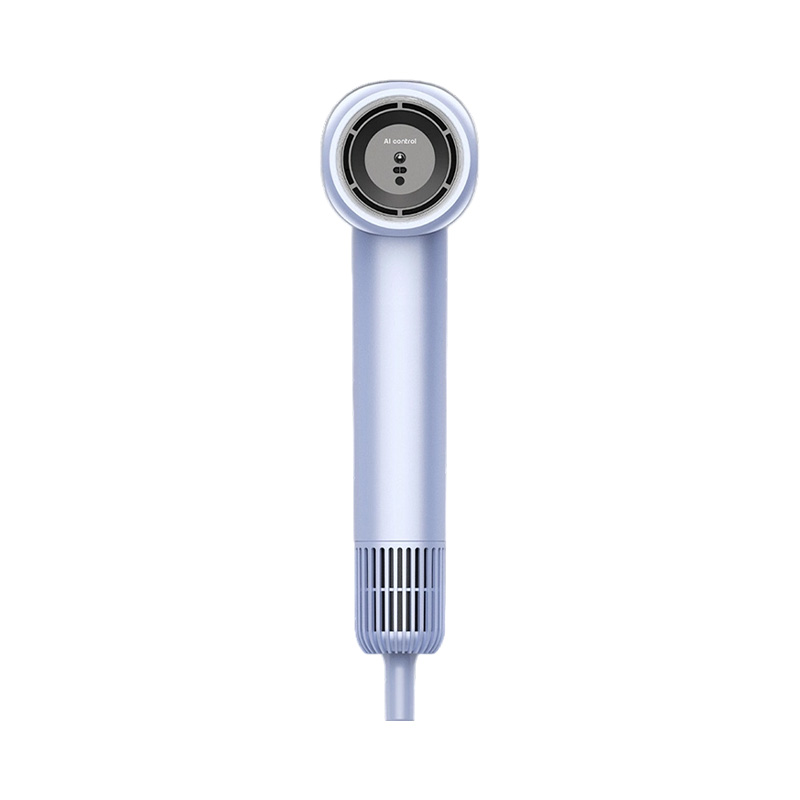 KH-808 Mini High-Speed Intelligent Temperature Control Hair DryerFor a compact drying step, this 1100W mini high-speed dryer offers intelligent temperature control and consistent airflow for home or travel.View Product →
Match Heat and Barrel to Your Hair
Temperature should match the hair, not the size of the curl. Fine or color-treated hair can take shape at 250 to 300 F. Medium hair usually needs 300 to 350 F. Coarse or resistant hair may need 350 to 400 F, but only for a short hold. Always start 20 F lower than you think you need. You can add heat later; you cannot undo a scorched section. Use the table below as a starting point.
| Hair type | Starting temperature | Barrel size | Hold time |
|---|---|---|---|
| Fine or color-treated | 250 to 300 F | 1 to 1.25 inch | 6 to 8 seconds |
| Medium | 300 to 350 F | 1 inch | 8 to 10 seconds |
| Coarse or resistant | 350 to 400 F | 1 to 1.25 inch | 10 to 12 seconds |
| Short layers or tight curl pattern | 300 to 350 F | 0.75 to 1 inch | 6 to 8 seconds |
If you want one tool for smoothing and curling, compare the KH810 intelligent temperature control hair straightener and curling iron. Its clamped design and adjustable heat suit users who want to smooth the root area and curl the ends with one tool. It is part of the straightener and curler range.
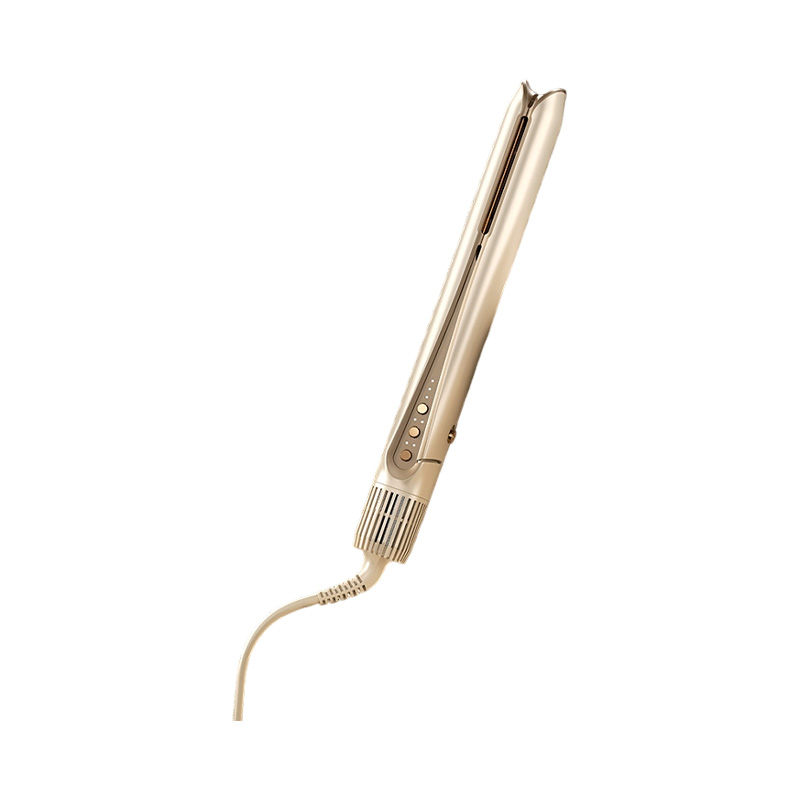 KH-810 Intelligent Temperature Control Straightener and Curling IronA dual-function straightener and curler with adjustable heat, a clamp design, and compact portability for smoothing roots and curling ends.View Product →
Section the Hair With a Clear Pattern
Divide the hair into four zones: two back sections and two front sections. Clip the upper layers out of the way and work from the bottom up. Take sections that are no wider than the barrel and no thicker than 1 inch. Thick sections heat unevenly, so the outside becomes crisp while the inside stays flat. For shoulder-length hair, aim for six to eight sections in the back and four in the front. Keep the rest of the hair clipped so you do not re-curl sections by accident. A fine comb makes clean partings, and sectioning clips keep the work organized.
Clamp, Wrap, and Hold
Hold the iron at a slight angle with the tip pointing down. Open the clamp and place the section between the barrel and the clamp about two-thirds of the way down the hair. Close the clamp gently, then rotate the iron upward toward the scalp while guiding the ends around the barrel. Do not force the hair into the clamp. If the section does not close easily, it is too thick. Hold the iron still for 8 to 12 seconds. Fine hair may need 6 to 8 seconds; coarse hair may need 10 to 12. Keep the iron moving only when you are wrapping the section. Once the curl is set, release the clamp and slide the iron out without pulling the curl straight.
Let the Curl Cool Before You Touch It
Let each curl fall into your palm and hold it for a few seconds, or pin it against the scalp with a clip. Cooling is part of the setting process. If you brush a warm curl, it will drop before you finish the head. Work through all sections first, then use your fingers or a wide-tooth comb to separate the curls. For a softer look, brush lightly after the hair is fully cool. For more hold, finish with a light mist of flexible hairspray from 8 to 10 inches away. Avoid heavy spray at the roots, which can make the hair feel stiff.
Control Curl Direction for a Natural Finish
Curl direction changes the final shape. For a natural look, alternate the direction of the barrel on each section. For a polished look, curl every section away from the face. For face-framing, curl the front sections away from the face and slightly back. Keep a consistent pattern on each side so the left and right sides match. If you want more volume at the root, place the iron closer to the scalp for the first two seconds, then move it down. Do not hold a hot iron against the scalp. Use the cool tip and a comb to lift the root instead.
Common Problems and Practical Fixes
Use this checklist when the result is not what you expected.
- Curls fall flat: hair was damp, sections were too thick, or the curl was brushed before it cooled. Dry the hair fully, take smaller sections, and pin each curl until it is cool.
- Crimp marks appear: the clamp was too hot or stayed in one spot too long. Lower the heat, keep the section smooth, and hold the iron with light tension.
- Ends look straight: the ends were not wrapped around the barrel. Guide the last 1 inch around the barrel and hold for the full time.
- One side is tighter: the hold time or section size changed. Count the seconds and use the same section size on both sides.
- Roots look flat: the iron was only used on the mid-lengths. Pre-dry the roots with a brush and dryer, then curl the top layer last.
A Simple 10-Minute Practice Routine
On your next wash day, try this sequence:
- Dry the hair fully and apply heat protectant.
- Divide the hair into four zones and clip the top sections away.
- Curl the back sections first, using 1 inch sections and a 10 second hold.
- Curl the front sections away from the face, then let everything cool.
- Remove the clips, comb through with fingers, and add light spray.
Practice on the back first. If a section looks wrong, let it cool completely before you re-curl it. Re-heating a warm section can create a sharp bend instead of a smooth curl.
Tool Details That Make Self-Curling Easier
When you compare curling irons, look for adjustable heat that starts at 250 F, a clamp with even pressure, and a barrel coating that lets the hair slide out without snagging. A swivel cord, cool-touch tip, auto shutoff, and clear temperature display are practical for daily use. Heat recovery matters too: a tool that drops temperature when a cold section touches the barrel will create uneven curls. For salon teams, brand owners, or buyers developing a private-label line, these details matter as much as the finish. Stable temperature control, safe housing, and consistent clamp pressure are the basics of a reliable styling tool. The same principles apply whether the tool is sold as a consumer model or part of an OEM program.
You do not need a complicated technique to curl your own hair. Dry the hair, protect it, use small sections, hold the iron long enough, and let each curl cool. Once you know how your hair responds to heat and time, you can adjust the barrel and temperature without guessing. Start with a lower heat setting, keep the sections clean, and build a repeatable pattern. The result should be smooth, springy curls rather than tight bends or flat ends.


 +86-574-63982198
 +86-574-63982197

 No. 933, Lingxu 2nd Road, Binhai Economic Development Zone, Cixi, Zhejiang, China.
